I need way more practice. Here is the first piece, done with kitchen implements.
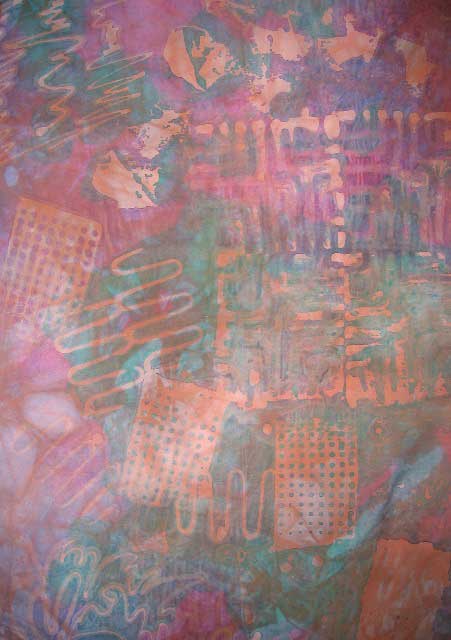
I was very impatient and ironed the wax out before the paint was dry. This caused some shadowing where the paint is lighter around the wax imprint. And the colors are nothing to write home about.
Second piece:

The blobs were created by dipping a piece of fabric in the wax and then pressing it to the fabric, sort of like sponging paint. Interesting shapes. Both of these fabrics will make excellent backgrounds for more surface design.
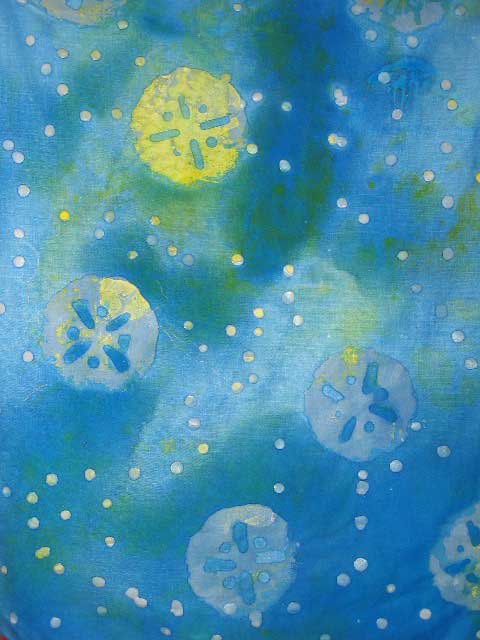
Today I started with the drain covers that are pictured in the previous post. A little practice helps to figure out how long to let the tool sit on the fabric - the longer it sits, the more wax gets onto the fabric, and the less distinct the image. For both of these fabrics, I plan to add more layers of wax and paint.

On this blue one, the wax imprints look sort of like shells, don't they.
Next project: I have finished quilting the red and yellow piece and now I have to add the backing. This is the first time I've quilted a piece before adding the backing and I'm not sure I like it very much. The reason I did this was I thought I might pillowcase the backing onto the front part and that would be the easiest way to preserve the uneven edges. (I could have zigzagged the edges; I've done that before; but didn't want to do it here.) Thought I had better practice first, since I have a feeling that I might be getting pouffiness on the back.

I stitched a very narrow seam allowance, with tiny stitches, snipped into the corners and turned it. Totally unsatisfactory - dog-ear corners, rounded points, curves where it's supposed to be straight, and the backing rolls and is visible from the front. Back to the drawing board. And I punched through the quilt trying to poke out a corner and get it pointy.
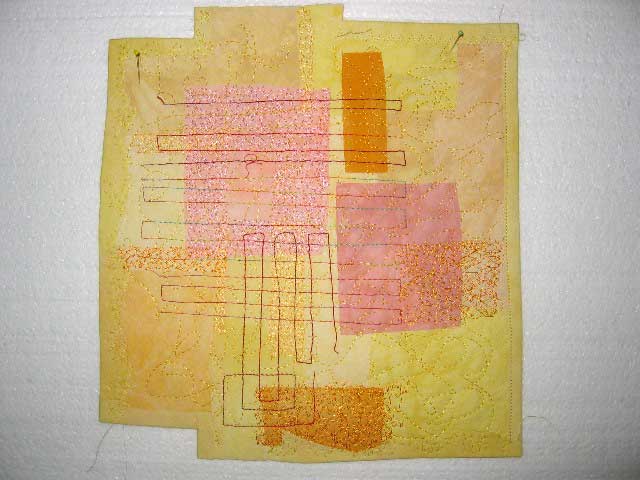
This is edged with narrow strips of matching fabric adhered with wunderunder. Some of the pieces were cut with straight edges and some with wonky edges. I used both a straight stitch and a free motion zig zag. This works much better. There's a little bit of fussiness to do on the corners, which may drive me nuts on the big piece, but it looks a whole lot better to me. I'll match the edging to the colors, red or yellow, and it won't be very noticeable. Back to work.